/filters:background_color(white)/2024-09/8MP_SMARC-RENDER-IF573.front.png)
/filters:background_color(white)/2024-12/nitrogen8m-plus-som.png)
We are pleased to release a Yocto Zeus image for our Nitrogen8MP SOM! This release is based upon NXP Beta 2 5.4.47_2.2.0 release. 
For the Impatient
You can download the Yocto image for Nitrogen8MP here:
You can program the SW to eMMC using the instructions below:
You can also program the SW to SD Card or USB Stick via zcat and dd under Linux:
~$ zcat *nitrogen8mp.wic.gz | sudo dd of=/dev/sdX bs=1MWhy Zeus?
If you're familiar with our previous releases, you might have noticed we already released Dunfell for our other platforms, which is newer than Zeus. The reasoning is that we usually use the community BSP which offers newer branches support, more bugfixes and so on. However the community BSP doesn't include all the components to fully leverage the i.MX 8M Plus yet (NPU, ISP, DSP etc). That is why we released this version of Yocto based on NXP's version. We will however continue to work closely with the community to integrate the missing packages and offer a Gatesgarth branch soon!
Build procedure
This image uses the Zeus boundary-imx-5.4.47-2.2.0 branch of our boundary-bsp-platform repository. To build the image, we recommend using a Docker Container so that you can build with a reproducible and stable build environment. Otherwise, you’ll need these packages installed as well as this repo tool that can be installed like this:
~$ sudo apt-get install repo~$ mkdir ~/yocto-8mp && cd yocto-8mp
~/yocto-8mp$ repo init -u https://github.com/boundarydevices/boundary-bsp-platform \
-b boundary-imx-5.4.47-2.2.0
~/yocto-8mp$ repo sync~/yocto-8mp$ DISTRO=fsl-imx-xwayland-boundary MACHINE=nitrogen8mp \
source imx-setup-release.sh -b build~/yocto-8mp/build$ bitbake imx-image-fulltmp/deploy/images/nitrogen8mp/imx-image-full-nitrogen8mp.wic.gz. Features list
The image built above contains the following components:
- Linux kernel 5.4.x_2.2.0
- U-Boot 2020.10
- Weston 8.0.0 for i.MX
- GStreamer 1.16.2 for i.MX
- GPU Vivante libraries 6.4.3p0.0
- VPU Hantro libraries v1.19.0
- ISP VVCAM v4.2.2.2
- Qt 5.15
- qcacld-lea-2.0 Wi-Fi driver for BD-SDMAC
- BlueZ 5.50 with support for BD-SDMAC
The next sub-sections will describe how to test most features.
Basler camera input
This build fully supports the Basler daA3840 8MP camera from Basler which is part of our Evaluation Kit: 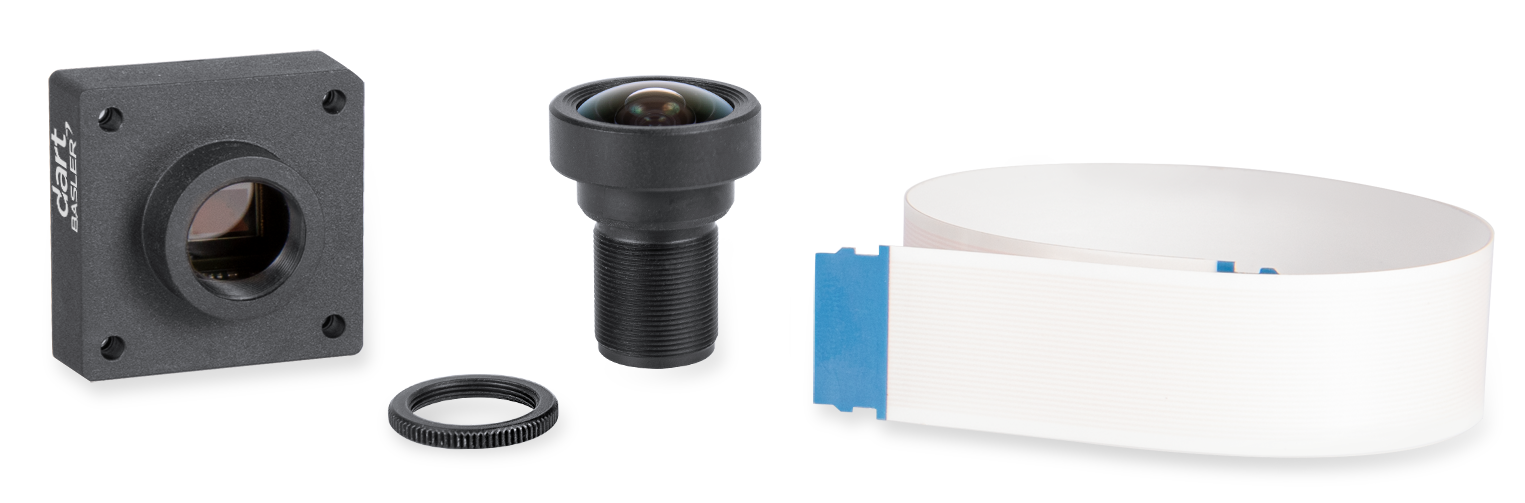 The
The isp-vvcam driver and imx8-isp service are loaded automatically when the camera is detected. From there a simple GStreamer pipeline will allow you to see the stream:
root@nitrogen8mp:~# gst-launch-1.0 -v v4l2src device=/dev/video0 ! waylandsink
...
[  352.348796] wdr3 res: 1920 1080
[  352.352471] enter isp_mi_start
[  357.581179] ###### 62.42 fps ######
[  362.771924] ###### 62.42 fps ######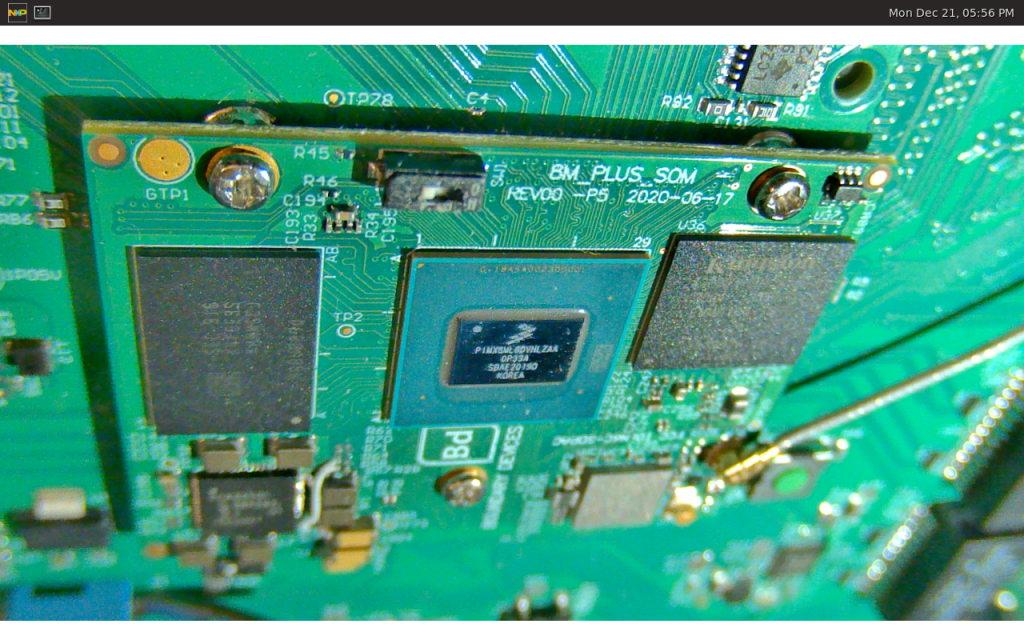
eIQ / NPU support
NPU support is fully integrated into this build with TensorFlowLite and ARMNN support of the NPU. We recommend newcomers try the PyEIQ framework which provides many examples to test the Neural Processing Unit:
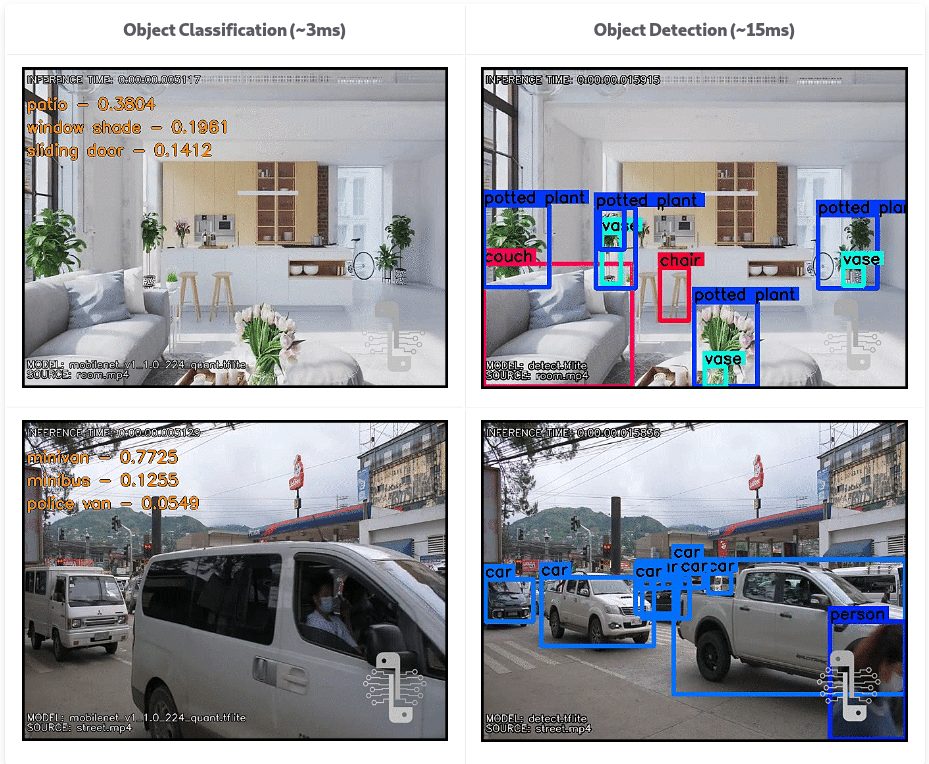
Installing eIQ is very simple as you can see below:
root@nitrogen8mp:~# pip3 install eiqroot@nitrogen8mp:~# pyeiq --run object_detection_tflite
root@nitrogen8mp:~# pyeiq --run switch_videoGPU acceleration
As usual, in order to test the GPU you can use the example apps provided by Vivante:
root@nitrogen8mp:~# /opt/imx-gpu-sdk/GLES2/Blur/GLES2.Blur_Wayland -d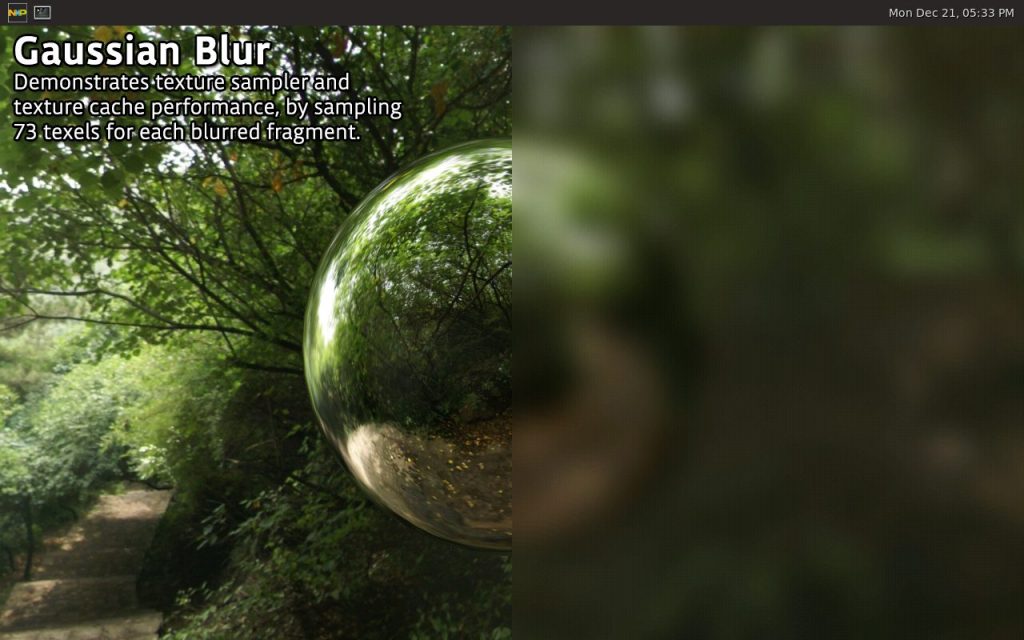
Ethernet
Once the eth0 or eth1 interface is up, you can use iperf3 to check Ethernet performance:
root@nitrogen8mp:~# iperf3 -c 192.168.1.10
Connecting to host 192.168.1.10, port 5201
[ 5] local 192.168.1.66 port 48554 connected to 192.168.1.10 port 5201
- - - - - - - - - - - - - - - - - - - - - - - - -
[ ID] Interval Transfer Bitrate Retr
[ 5] 0.00-10.00 sec 1.10 GBytes 943 Mbits/sec 0 sender
[ 5] 0.00-10.00 sec 1.10 GBytes 941 Mbits/sec receiver
Wi-Fi
Same goes for the Wi-Fi that can be tested just as easily with connman:
root@nitrogen8mp:~# connmanctl
connmanctl> enable wifi
Enabled wifi
connmanctl> agent on
Agent registered
connmanctl> scan wifi
Scan completed for wifi
connmanctl> services
*AO Wired ethernet_0019b80891ba_cable
Jabu_5GHz wifi_e24f43c97518_4a6162755f3547487a_managed_psk
Jabu_5GHz wifi_e04f43447518_4a6162755f3547487a_managed_psk
connmanctl> connect wifi_e04f43447518_4a6162755f3547487a_managed_psk
Agent RequestInput wifi_e04f43447518_4a6162755f3547487a_managed_psk
Passphrase = [ Type=psk, Requirement=mandatory, Alternates=[ WPS ] ]
WPS = [ Type=wpspin, Requirement=alternate ]
Passphrase? XXXXXXX
connmanctl> [ 1345.330332] IPv6: ADDRCONF(NETDEV_CHANGE): wlan0: link becomes ready
Connected wifi_e04f43447518_4a6162755f3547487a_managed_psk
connmanctl> exit
root@nitrogen8mp:~# ping google.com -I wlan0
PING google.com(par10s28-in-x0e.1e100.net (2a00:1450:4007:80a::200e)) from 2a01:cb00:f9f:e00:e24f:43ff:fe44:7518 wlan0: 56 data bytes
64 bytes from par10s28-in-x0e.1e100.net (2a00:1450:4007:80a::200e): icmp_seq=1 ttl=115 time=9.12 ms
64 bytes from par10s28-in-x0e.1e100.net (2a00:1450:4007:80a::200e): icmp_seq=2 ttl=115 time=9.32 ms
...
Bluetooth
Here is the procedure to get BT5.0 working with our BD-SDMAC module:
root@nitrogen8mp:~# connmanctl enable bluetooth
Enabled bluetooth
root@nitrogen8mp:~# hciattach -t 30 /dev/ttymxc0 qca 3000000
...
Device setup complete
root@nitrogen8mp:~# hciconfig hci0 up
root@nitrogen8mp:~# hcitool scan
Scanning ...
	94:E6:F7:F3:17:F3	p1g2
VPU decoding
If your platform supports VPU decoding, here is an example on how to test it using the gplay tool:
root@nitrogen8mp:~# wget http://linode.boundarydevices.com/videos/Hobbit-1080p.mov
root@nitrogen8mp:~# gplay-1.0 Hobbit-1080p.mov
VPU encoding
Here is a simple example that shows how to encode a video stream from the camera into H.264 using the VPU encoder:
root@nitrogen8mp:~# gst-launch-1.0 -v -e v4l2src device=/dev/video0 ! 'video/x-raw,width=1920,height=1080' \
                    ! vpuenc_h264 ! filesink location=test.h264
^C
root@nitrogen8mp:~# gst-launch-1.0 filesrc location=test.h264 typefind=true ! 'video/x-h264' ! \
                    h264parse ! vpudec ! waylandsink
CAN
The Nitrogen8MP platform comes with 2 CAN ports. You'll be able to bring up the interfaces using this following command:root@nitrogen8mp:~# ip link set can0 up type can bitrate 500000
root@nitrogen8mp:~# ip link set can1 up type can bitrate 500000From this point, you can use commands such as cansend and candump to send or display messages on the bus respectively. If you have any issues, please email support@boundarydevices.com