/filters:background_color(white)/2025-11/N959_6_SMARCwith%20NX611%20-%20front%20connector%20removed_4.png)
/filters:background_color(white)/2024-06/SMARC_CAR%20Kit.png)
Getting Started
This guide documents how to quickly get up and running with the Ezurio's Nitrogen95 SMARC module and Universal SMARC Carrier.
Note: For instructions on getting started with the Nitrogen95 EVK (EZSMI-959-0816-00158-2-K2 and EZSMI-959-0816-00158-2-KC), please see the Nitrogen95 EVK Quick Start Guide.
In the Box
The development kit contains the following items:
- 1x Nitrogen95 SMARC module
- 1x Universal SMARC Carrier
- 2x Mounting Screws
- 1x Power Supply 5V
- 1x Serial Cable
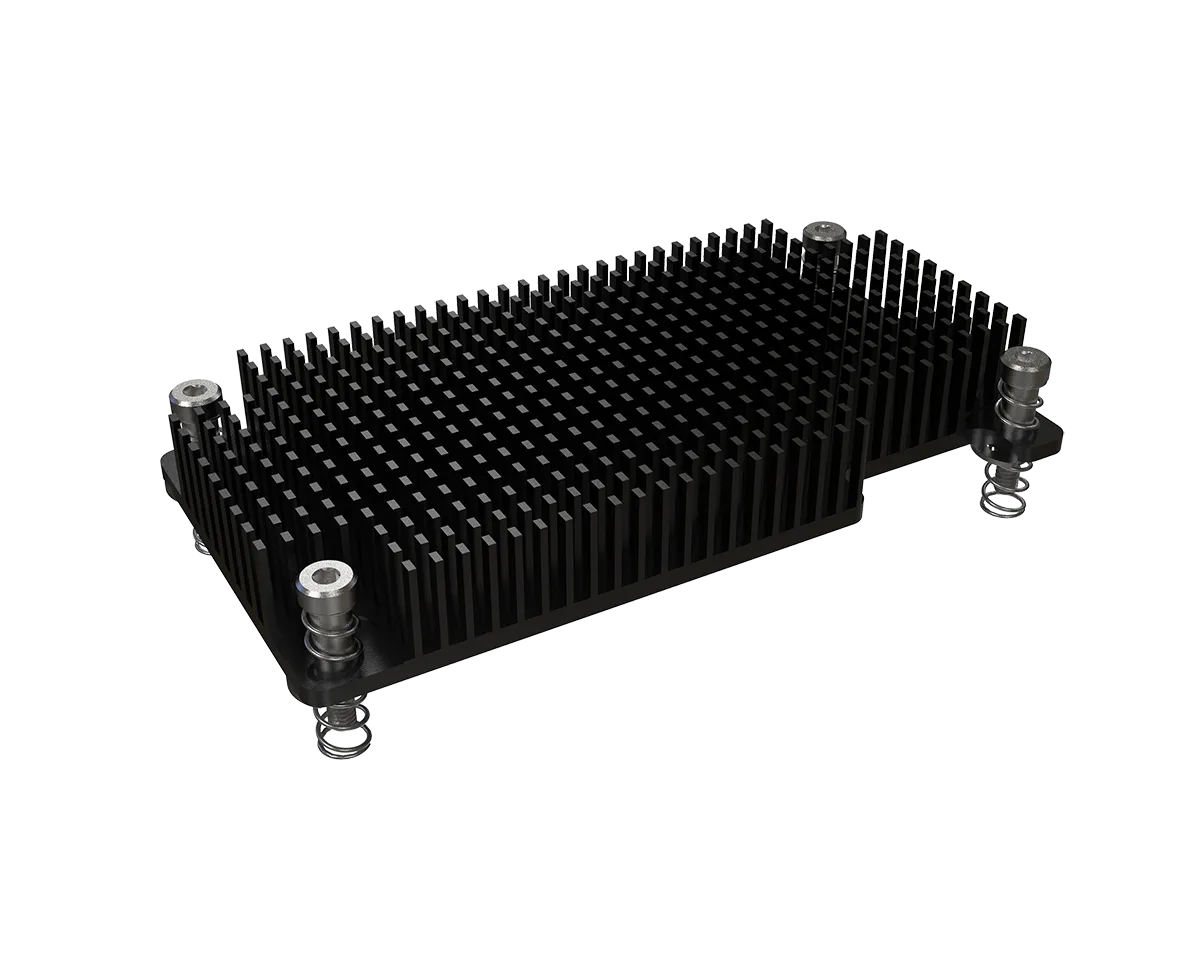
Note: Ezurio recommends the use of a heatsink during use. We provide a universal SMARC heatsink (Part # 450-00238) for use with all of our SMARC modules.
On the Board
The Nitrogen95 SMARC module and Universal SMARC Carrier contains the following components and interfaces:
- Nitrogen95 SMARC module
- SW1 on N95 SMARC module for boot mode bit 0
- DSI 0 Display Connector (J13)
- LVDS I2C connector - Touch (J23)
- DSI 1 Display Connector (J14)
- LVDS0 Display Connector (BOM Option) (J21) *
- LVDS1 Display Connector (J22)
- Barrel Plug Power Adapter (J17)
- 3.5mm Audio Jack (J4)
- 3 Pin Molex Connector for Mic (J8)
- 2 Pin Molex Connector for Line In (J6)
- 2 Pin Molex Connector for Speaker Right (J7)
- 2 Pin Molex Connector for Speaker Left (J5)
- 5 Pin Molex Connector for Can 2 (J20)
- 5 Pin Molex Connector for Can 1 (J19)
- 6 Pin Molex Connector for Serial (J18)
- 2x USB-A 3.1 Gen1 Port (J24)
- High-Speed USB-C OTG Connector (J25)
- 1x USB-A 2.0 Port (J2)
- Gigabit Ethernet 1 Connector (J32)
- Gigabit Ethernet 0 Connector (J31)
- Boot Mode Switches (S1)
- CSI 0 Connector (J11)
- On/Off Switch (SW2)
- Reset Switch (SW1)
- 2x Expansion Connectors (J27 and J28)
- M.2 Connector (J15)
- CSI 1 Connector (BOM Option) (J10) *
- Micro SD Card Slot (J26)
- RTC Battery
- EDP0 (J3)
- EDP1 (J9)
EDP_PWR (J33)
* Note: BOM options are required for functions with *. Please contact support@ezurio.com or the sales team for more information.